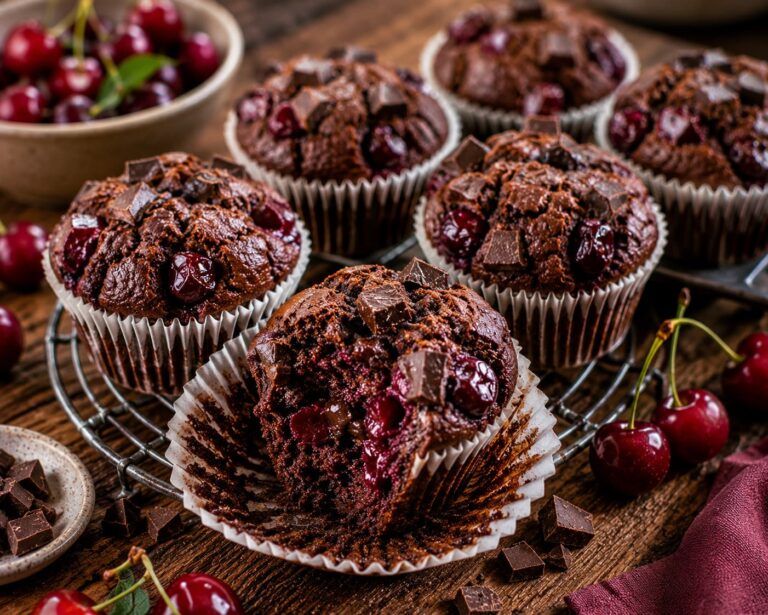
Baking a soft chocolate egg sponge and topping the base with a thick nut-infused dairy whip builds a magnificent winter confectionery masterpiece. Today we are mastering an elite holiday milestone from our seasonal collection: classic homemade Chocolate Slices with Nut Cream. This elegant sheet recipe layers a light cocoa pastry foundation with a rich, nutty whipped cream and a dual couverture armor coating, making it the perfect showstopper dessert to present on your weekend coffee table.
The culinary secret to this streamlined blueprint relies on precise manual egg separation and separate late-stage double boiler chocolate glazing dynamics. Instead of using heavy store-bought pre-mixed powders, we are beating our egg whites into a stiff, stable foam before folding the dry starches gently by hand to lock in a perfectly airy sponge consistency. Covered under a velvety mantle of hazelnut-infused cream and a crisp, glossy chocolate shield right before slicing, every single bar delivers a wonderful balance of textures.
what you need
for the fluffy chocolate sponge base
- 2 large fresh farm eggs
- 80 g white granulated sugar (divided based on the sequence steps)
- 40 g premium pastry flour
- 25 g fine food starch powder
- 0.5 tsp active baking powder
for the velvet hazelnut cream mattress
- 750 g cold heavy liquid whipping cream (divided)
- 1 packet traditional aromatic vanilla sugar
- 3 packets commercial whip stabilizer powder
- 150 g premium finely ground hazelnut kernels
for the glistening chocolate armor and layout crown
- 100 g premium milk chocolate couverture block
- 10 g solid coconut fat
- 15 whole raw hazelnut kernels (strictly for the glazed toppers)
- 50 g premium dark bittersweet chocolate couverture block (strictly for the curls)
- 50 g premium white chocolate couverture block (strictly for the curls)
- As needed fresh parchment paper sheets strictly to line the baking sheet
step-by-step
Let us begin with the artisan egg separation and sponge baking ritual to establish our fluffy, delicate cake foundation. Line one half section of a large flat sheet baking pan bottom base meticulously with a sheet of parchment paper, folding a tight supporting barrier wall out of sturdy aluminum foil to keep the boundaries firm. Separate your 2 fresh farm eggs cleanly into separate mixing containers. In a clean deep mixing bowl container, combine your 2 egg whites and 1.5 tablespoons of cold fresh water, turning your machine speed up to high velocity to beat the fluids aggressively for exactly 3 minutes until a pristine white snow mattress builds while slowly raining in 50 grams of white granulated sugar until stiff glossy peaks form. Reduce the machine speed down short, stirring in your 2 egg yolks for 30 seconds until a pale yellow uniform cream builds.
In a separate bowl container, mix 40 grams of pastry flour, 25 grams of food starch powder, and half a teaspoon of active baking powder with a fork until uniform. Sift this dry starch mix directly over your whipped egg pool, using a rubber spatula to fold the powders gently under a short manual spoon stir. Scrape your chocolate batter inside your prepped sheet pan boundaries, using an offset spatula to smooth the surface perfectly flat. Preheat your baking vault to a steady heat line of 200C (400F) using traditional electric top and bottom heat settings, or 175C (350F) if utilizing a convection fan layout current. Plunge the loaded baking tray pan proudly onto the middle oven rack rail line to bake bare and uncovered free for exactly 8 minutes total until the starches expand wide. Pluck the pan out using heavy mitts, letting the sponge block cool flat on a wire rack workspace canvas before gently peeling the baking paper backing away.
Now, handle your velvet hazelnut cream whisking and cake assembly sequence right alongside the cooling clock. In a massive deep mixing bowl container, combine 600 grams of cold heavy liquid whipping cream, raining in 1 packet of vanilla sugar, 30 grams of white granulated sugar, and 3 packets of whip stabilizer powder. Whisk the dairy fluids rapidly with a machine on high velocity speed for exactly 3 minutes until stiff white snow peaks form. Use a rubber spatula to slowly turn, fold, and interlock your 150 grams of finely ground hazelnut kernels straight inside the whipped cream cauldron until a uniform fluffy nut cream mattress builds. Place your cooled sponge base circle proudly flat down over a large wooden presentation board canvas workspace, locking an adjustable rectangular baking frame secure around the margins. Slather your prepared nut cream mattress uniformly all across the sponge floor shield, smoothing the surface flat with an offset spatula; slide the pan inside your fridge lines to rest cold for exactly 1 full hour.
Execute your glistening chocolate armor melting and nut glazing sequence. Coarsely chop 100 grams of milk chocolate couverture block into fine shards on your chopping board workspace canvas. In a metal bowl setup set over a hot water vapor pool cauldron, combine your milk chocolate shards and 100 grams of heavy liquid whipping cream, stirring constantly over slow heat for exactly 2 minutes until melted into a smooth uniform cream gravy. Add 10 grams of solid coconut fat directly down into the hot chocolate mixture, turning the lines slow with a spoon until the lipid grids melt completely into a smooth uniform glossy lacquer mirror, then pull the vessel off the fire tiles to cool slightly. Pluck your chilled cream cake out from the fridge boundaries frame, pouring your warm chocolate lacquer uniformly all across the white cream ceiling boundaries frame, spreading the sauce thin with an offset spatula before sliding the pan back inside the chill lines for 1 final hour.
Chef’s Critical Chocolate Curls Secret: Do not attempt to throw your decorations loose or shave the chocolate while the couverture block stands warm! Separate 1 tablespoon of your melted milk chocolate glaze inside a cup container container; dip your 15 whole raw hazelnut kernels individually headfirst straight down inside the cup pool using a dipping fork, transferring the glazed nuts onto a sheet of parchment paper to cool. Coarsely chop 50 grams of dark couverture and 50 grams of white couverture shards, melting the blocks separate over the hot water vapor pool. Drop alternating thin stripes of dark and white liquid chocolate directly across a clean cold marble presentation board, smoothing the lines thin with a palette knife. Let the chocolate dry flat until matte and solid; hold a sharp metal dough scraper tool at a firm 45-degree angle, pushing the blade confidently forward across the marble to cleanly scrape and roll the chocolate sheets into beautiful, fragile hollow chocolate curl cylinders.
Time for the final presentation layout masterclass. Pluck your stabilized chocolate cream cake proudly out from the fridge frost boundaries frame, opening and lifting the metal baking frame carefully away from the margins. Cut the rectangular sheet cake cleanly into 12 massive identical uniform rectangular bar slices measuring exactly 4 x 10 centimeters each using a sharp warm serrated knife blade. Garnish the summits meticulously by nesting 1 glazed whole hazelnut and a few fragile chocolate curl shards decorative right over the glistening dark chocolate roofs of each bar piece to secure that signature high-end pastry boutique contrast look. Pile the luxurious sweet wheels proudly side by side across a vintage ceramic presentation platter canvas workspace floor layout, serve cold alongside hot steaming cups of espresso coffee, and enjoy your holiday baking paradise!